
Around the holiday season, I like to trot out my family's traditional recipes -- food of either Greek or Polish origin. One of the recipes that makes an annual appearance every year is baklava, a traditional confection made with nuts, honey and phyllo dough. Although I make it every year, by and large, baklava is a pain for the occasional baker because the phyllo dough can be a challenge if you aren't used to working with it.
So when I saw this recipe for "Baklava Bars" on the Betty Crocker site, I was instantly intrigued. It called for a sugar cookie base, a layer of nuts, crumbled phyllo, and a sweet syrup drizzled on the top. Needless to say, I was anxious to see how this would measure up to traditional baklava. So I decided to modify it a bit according to my family's usual recipe, and check it out. And might I say, if you like baklava, but have always been intimidated by the phyllo, or even if you are Greek or Middle Eastern and looking for a quick way to get that baklava taste without spending a ton of time, then this recipe is for you. I modified the original recipe to use the filling and syrup that I like best, which I think will be tasty to most people, but if you are already a baklava maker, you could easily substitute the filling and syrup you normally use. The only adjustment I would make would be to omit water from your usual syrup, to keep it a little thicker and avoid drenching the bars. Use less of it than you would normally use, since your syrup-sans-water will now be thicker and sweeter than normal.
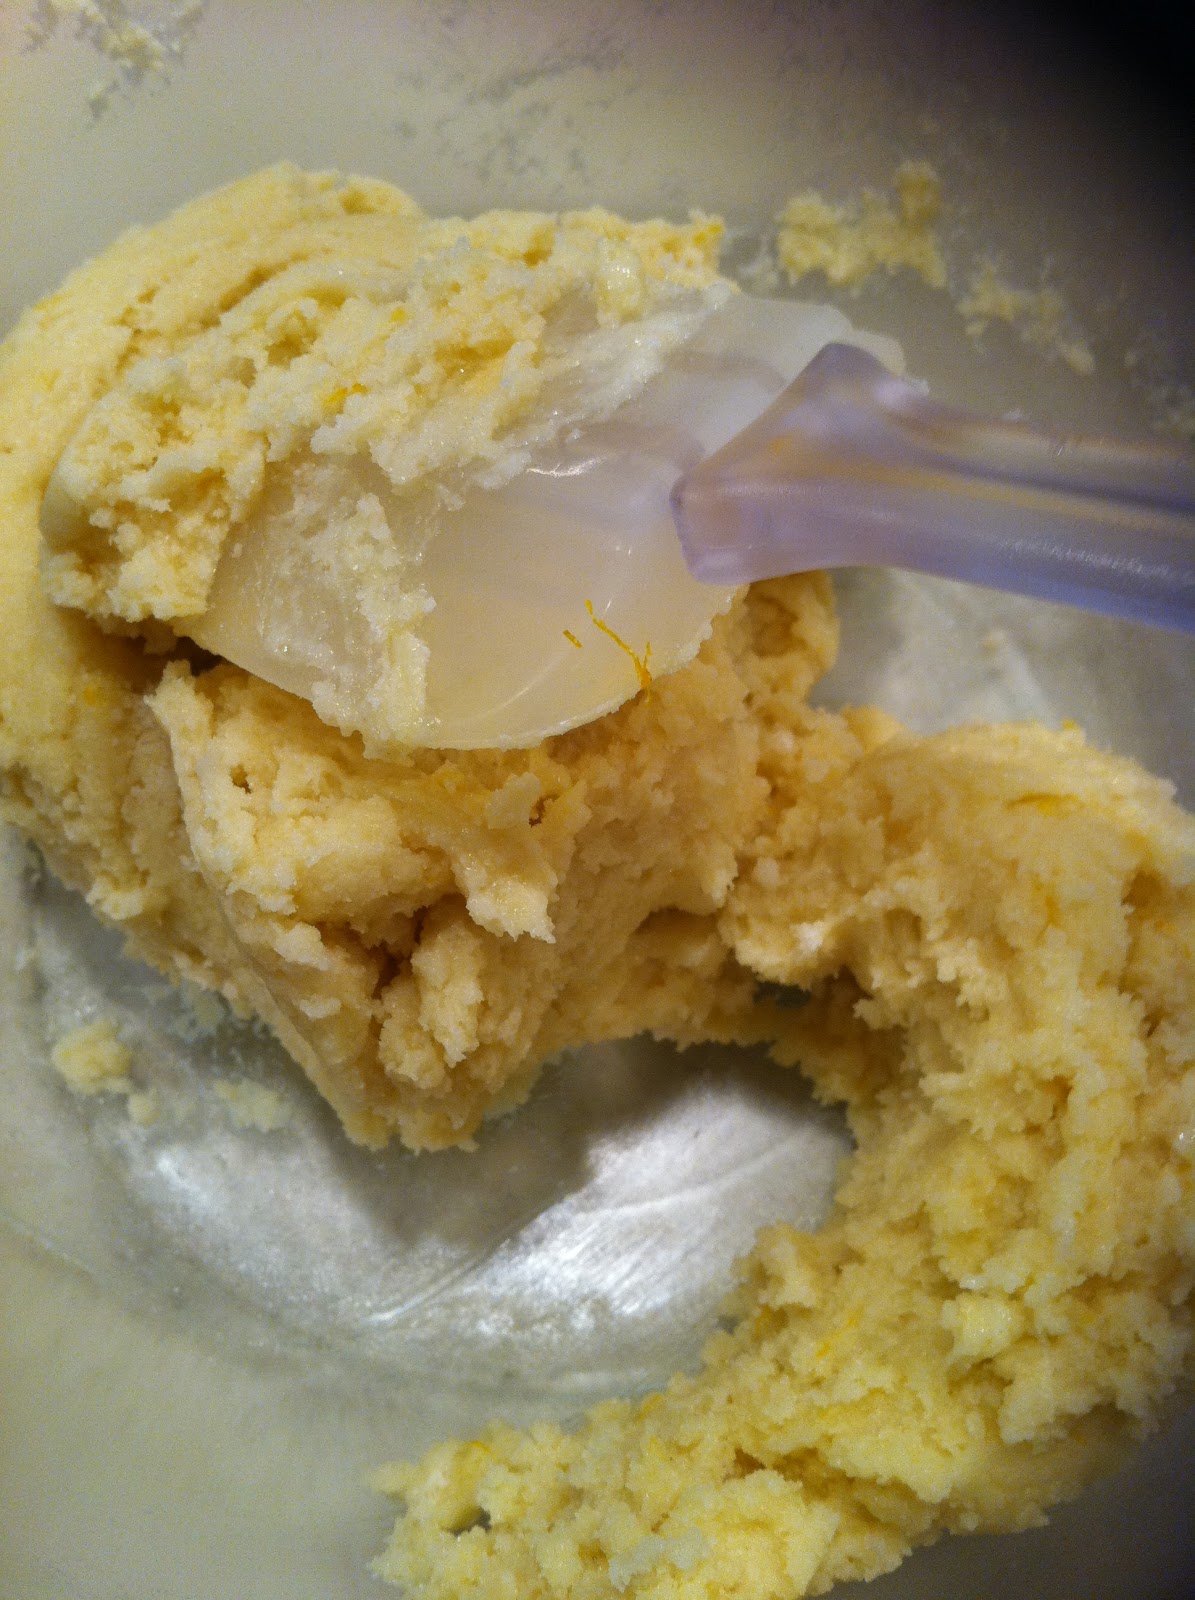
The best thing about this bar is that it starts out in the easiest possible way: with a sugar cookie mix. So, grab some butter. If you have a microwave-safe mixing bowl, you can melt the butter right in there.

Then add the cookie mix, eggs and orange zest, and mix until combined.
Pat it evenly into a 9"x13" pan, it will be thin, no worries. Push it right into the corners, you want complete coverage.

This crust is going to get partially baked. While that is baking, make the nut filling. In the Middle East, pistachios are the most common nut used, while most Greek recipes call for walnuts. I love the taste of pistachios in baklava, but I also like the depth of flavor that comes from a combination of nuts, so I grabbed the Planters brand "Pistachio Lovers Mix", which is predominantly pistachios, but also has cashews and almonds. But you are free to fill up the nut volume with whichever nut combination you prefer. Equal parts pistachios, walnuts and almonds is also a tasty choice.

Chop up those nuts into small pieces, and add in some sugar, melted butter and cinnamon.

Then, once the partially-baked sugar cookie layer comes out of the oven, spread the nut layer down on top. This recipe provides for a nice thick layer of nuts, which is how I like it. You can halve the nut layer amount if you are not that into the nut part of baklava.

And now for the fun part. Normally, "fun" and "phyllo" are two words that don't appear together in sentences, but this process actually is fun. Grab a box frozen phyllo dough (the pastry sheets). Don't defrost it, it will only crumble correctly if you just took it out of the freezer. This is my favorite kind:

Incidentally, this particular box is specially-sized for 9"x13" pans, for any of you traditional baklava makers out there, so if you use these sheets, you don't have to trim!
Now, the phyllo is inside the box in 2 separately packaged 8 oz rolls. You only need one of these for the recipe, so take one of these out of the plastic. Now, start to break off pieces and crumble over the nut layer. you will be surprised how easily it crumbles (as long as it is still frozen).


No need to fuss with the layers, just break some big chunks off for crumbling. Now, about halfway through the roll, you need to put some butter on the phyllo crumbles. For a traditional baklava, this involves brushing melted butter on the sheets with a pastry brush. Obviously, that is not an option here, unless you want to brush off all of your lovely crumbles. So you have two easier options. One is to melt butter and put it into a little spritz bottle and spritz it over the phyllo; the other option is to use a can of butter spray. I tend to use the former, my mom uses the latter. Obviously, butter tastes a little better, but the butter spray tastes great too, and is slightly more convenient. For these bars, I did actually use butter spray because I didn't plan ahead enough, and they were still fantastic. Just enough to give it a light coat is fine.

Now, finish crumbling the roll, and end again with butter or butter spray. Again, light but even coat.
Pop it into the oven, and bake until the phyllo crumbles are golden brown.

Luckily, the syrup is quick to put together, because you use the microwave! None of the stove top boiling that normally is the hallmark of baklava syrup. So you can wait until the baklava bars are almost done baking before you assemble the syrup, because it takes a mere 3 minutes and change.
Honey, cinnamon, lemon juice, orange juice, and orange zest go in a microwave-save container. Cook it on high for 2 minutes, stirring halfway through. When it is done being cooked, stir in some vanilla.

Then, drizzle the syrup onto the bars while both the syrup and the bars are still hot. Let the syrup soak in.

Then, I'd leave them until the next day, let the flavors bloom. Just let the bars cool to room temp, cover with some aluminum, and leave on the counter until the next day. Then, you can cut and enjoy!
As you eat it, the top might detach from the bottom, since the nuts have a hard time cementing everything together, especially with a thick layer of nuts. I really feel, however, that a thicker nut layer is important to the taste of the bars, because there is only one nut layer total (as opposed to the multiple thin layers found in traditional baklava).
These bars are a great alternative to a traditional baklava. A lot of the taste without a lot of the fuss.Normally, I am not a big fan of baklava, because the syrup is too sweet. But, although this syrup is mostly honey, the overall effect isn't as sweet, since there is less syrup on the bars than on a traditional baklava. All in all, it is a great way to inject a little flair into your dessert repertoire!

Baklava Bars
(Printable Recipe)
Ingredients
Sugar Cookie Layer
- 1 pouch of Betty Crocker Sugar Cookie Mix (1 lb 1.5 oz)
- 1 stick butter, melted
- 1 egg
- 1/2 medium orange's zest
Nut Layer
- 3 C assorted nuts, chopped
- 2/3 C granulated sugar
- 2 tsp cinnamon
- 1 stick butter, melted
- 1/8 tsp salt (if using unsalted nut mix)
Phyllo Layer
- 8 oz frozen phyllo dough sheets (1 roll of a 2 roll 16 oz package)
- butter or butter spray, for spraying phyllo crumbles
Syrup
- 2/3 C honey
- 4 tbls butter
- 1 tbls brown sugar
- 1/2 tsp cinnamon
- 1 tsp lemon juice
- 2 1/2 tsp orange juice
- 1/2 medium orange's zest
- 2 tsp vanilla
Directions
- Preheat oven to 350F. Spray 9"x13" pan
- FOR COOKIE LAYER: Combine melted butter, cookie mix, eggs, and orange zest in a bowl, mix to combine
- Place dough in a 9"x13" pan, patting down to cover entire bottom evenly
- Bake at 350F for 20-25 minutes, partially baking dough. Will be slightly golden
- FOR NUT LAYER: combine chopped nuts, sugar, butter and cinnamon in a bowl. Mix until well combined
- Spread nut layer on top of partially baked cookie layer, to edges of pan
- PHYLLO: Crumble frozen phyllo dough on top of nut layer. Pause to spray surface with butter (or butter spray) halfway through crumbling and at the end of crumbling. Spray until phyllo is lightly coated.
- Bake bars ar 350 for 20-25 minutes longer, until phyllo is golden brown
- SYRUP: Combine honey, lemon and orange juices, brown sugar, butter, zest and cinnamon in a microwave-safe bowl
- Microwave on high for 2 minutes, stirring halfway through (watch to make sure it doesn't bubble over
- Stir in the vanilla
- Drizzle hot syrup evenly over the hot bars, and allow to cool to room temperature
- Enjoy once cooled, or cover and store at room temperature until the next day, for the flavors to meld
4 comments:
Thanks for the great pictures and step-by-step instructions. I'm going to make these for a gathering later this week. How many bars does this recipe make? I'm wondering if I will need to make two pans instead of one.
Thanks for the great pictures and step-by-step instructions! It made my mouth water just reading your post. I'm going to make these for a gathering later this week. How many bars does this recipe make? I'm wondering if I will need to make two pans instead of one.
Thanks for the great pictures and step-by-step instructions! It made my mouth water just reading your post. I'm going to make these for a gathering later this week. How many bars does this recipe make? I'm wondering if I will need to make two pans instead of one.
Hi! The recipe makes one 9x13 pan, so I would estimate 24 bars, although you could cut them a little smaller and get more. Let me know how they turn out!!
Post a Comment